These past few days have been quite eventful. In these two days, I have worked and finished both the CCRs.
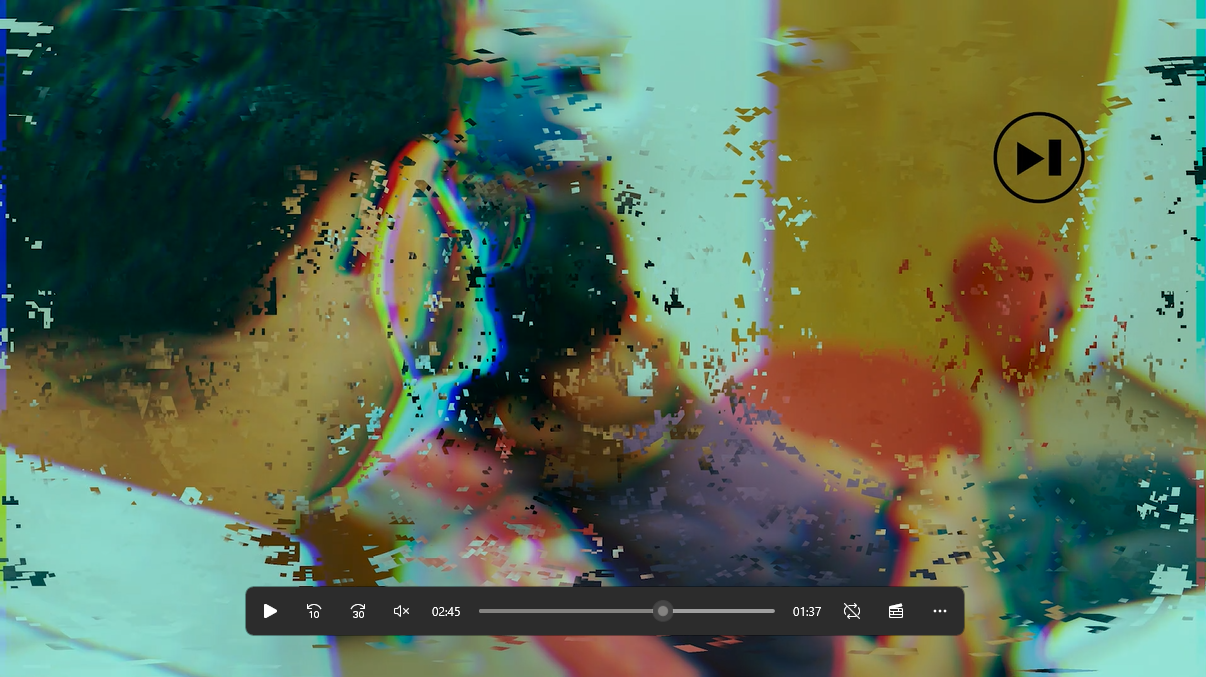
First I'll talk about the Director's Commentary. For this, I used my clips which I obtained from my Film Opening. Much of the Director's Commentary was piecing together the clips in order to make sense with what I am saying. As well as this, I used Keyframes in Premiere to "Animate" pictures such as the logos for Audacity, Premiere Pro, and Photoshop. This picture on the right shows an animated Audacity logo which flies across the screen to make a transition between videos.

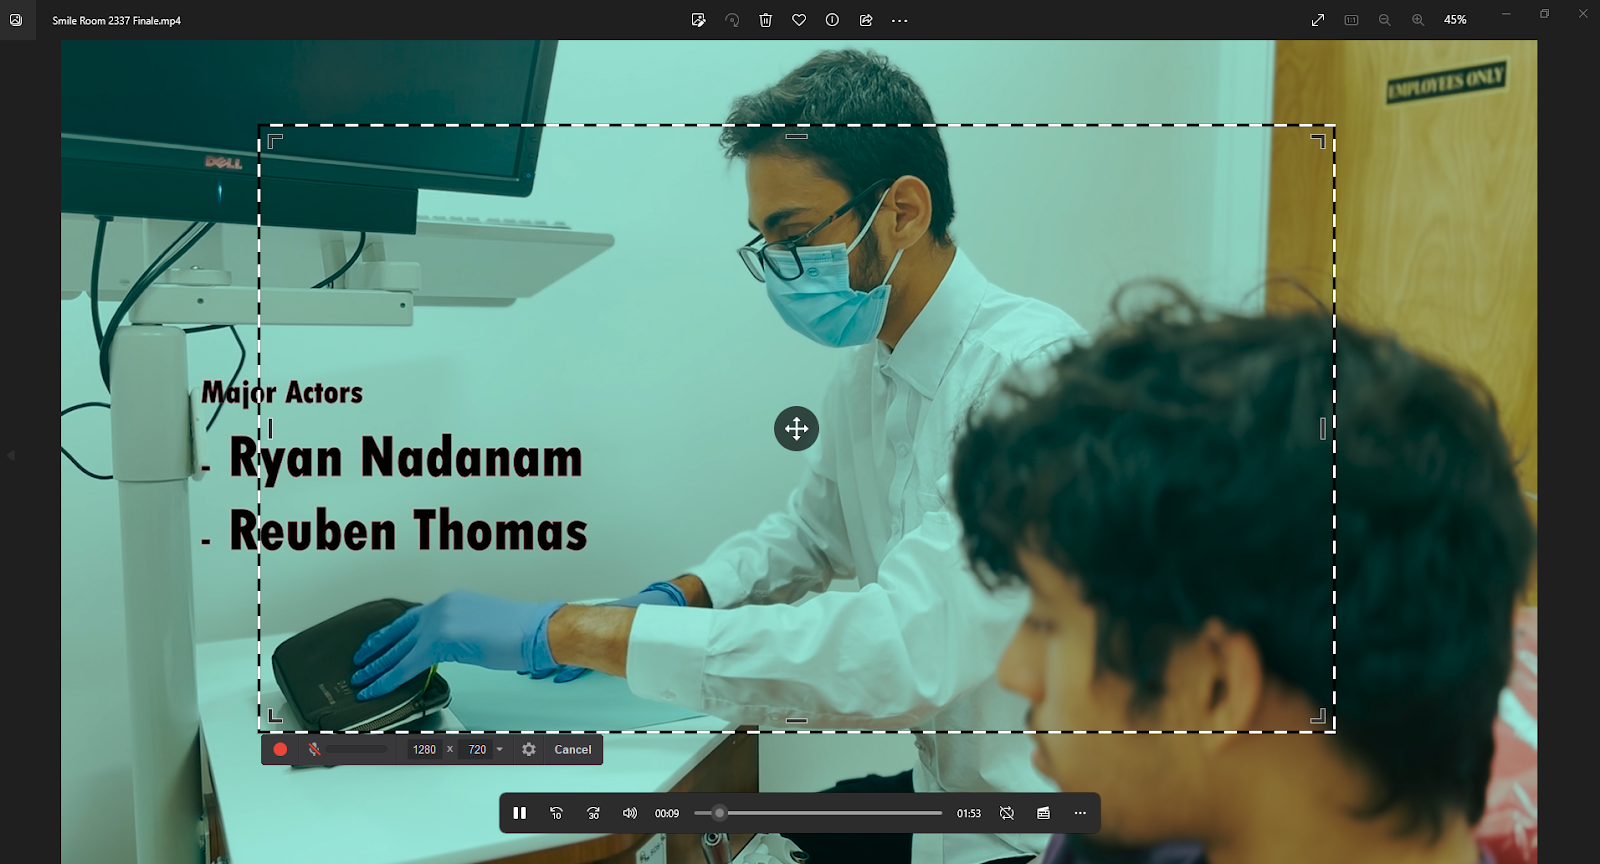
My Director's Commentary had lots to do with talking not just about my film itself, but the process. This is what I wanted the my commentary to differentiate from others. What helped me in order to do this was a tool called Free Cam 8. This tool allowed me to take recordings of my screen to really show the process and how I made The Smile Room video. On the left, the dotted frame shows what I am trying to record and the red button below allows me to start and stop the recording. Anything outside the box does not show.
For the Director's Commentary, I used lots of my knowledge of Premiere to my advantage. Not only did I use Ultra Key to make a fast forward effect, but I also used the Ultra Key feature to add a play and stop button to my video. All of these features work to make the video much more engaging rather than the bland video that was made by Peele that only had the movie showing.
For the Interview, I first set up an area which would look like a television set. My idea was that the Interview would first open with someone sitting down to watch it on their own TV. Then the camera would zoom in to show the interview. Then what I did was put together the clips.
The first scene was taken around some plants and as such was rather shaky as the whole interview was shot by hand. Therefore, I used the Warp Stabilizer tool. While not a perfect fix to this solution, it removed much of the jittering. I really liked the shot composition as it shows the angle through the plants to look at the audience.
Overall, now that most of the heavy lifting is complete, I can work to export the project to Google Drive and submitting it to the Blogs.
Bye for now!


